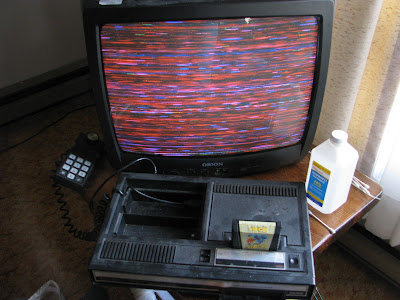
We interrupt our regularly scheduled crafty post to bring you a special feature - old school video game repair.
Santa came to our house early and brought us the ColecoVision gaming system that my husband wanted when he was a kid. Only 29 years late, but hey, you can't have everything. Including, it seems, a working game system.
 |
| No Cartridge |
 |
| With Cartridge |
We tried to clean it (that's what the giant sized bottle of rubbing alcohol on the table is all about) to no avail. Luckily, through the magic of the Internet, the solution was less than a minute away.
We landed on Joomla!, which I had never heard of before, but it's a great site for those with a love of archaic game systems. And there was our solution - an easy, in depth tutorial, with pictures. Cheers, Callan, our faceless Internet adviser, and thanks for the help!
All you have to is change the power switch. Get out your solder braid or your handy dandy vacuum pump solder sucking system, if you have one. Ah, how I miss the high-tech soldering stations that I had access to at school.
 |
| Switch removed |
You can repair the switch itself, if you're a traditionalist, but that requires disassembling the switch, cleaning the contacts, applying new dielectric grease, and reassembling said switch. Frankly, that seemed like a huge pain in the a**, so we chose to install a new switch.
Once you've done this
So if you're in a similar situation with your ColecoVision, just visit Joomla!'s tutorial and in no time you'll be up and running. One tip on taking apart the ColecoVision: there are three case screws under the silver label on the front of the unit. If you're a patient person, and lucky, you should be able to peel up that label and reapply it with no problems. Don't take it all the way off, just lift each end until you find the screws, then stick it back down.
Sorry to go off topic, but I just had to share, and never fear, our next post will be about crafting. Or backyard birding. Or books. Probably.


No comments:
Post a Comment