Friday, December 21, 2012

End of the World Calendar Shopping

by Kelly

So as you can see, the world didn't end after all (or at least, not yet), which means that now I have to go shopping for a calendar. As usually happens, we have 'inherited' three calendars already, but these calendars really don't suit us, for various reasons. Hand me down calendars rarely do, am I right?

So first up is this one, which doesn't have anything to do with crafting. I would only go with this calendar because my husband calls this 'the alien dog' and that's perfect for an 'end of the world' mindset.

via Amazon

I do agree with my husband, by the way - that dog has a suspiciously large cranium to be just an ordinary household pet. Admittedly, it's terribly cute, but can you really trust it not to be part of an alien incursion force?

Then there's this one, which doesn't involve a craft that I can actually do but is too beautiful to pass up:
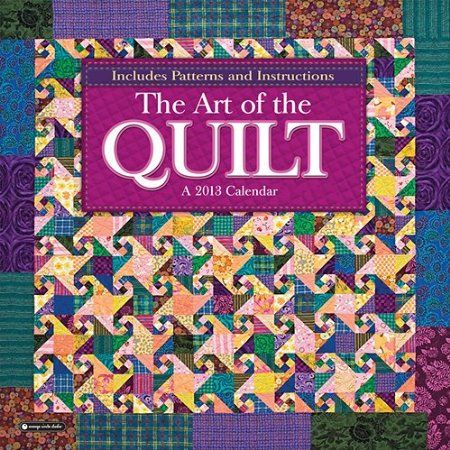
via Amazon

I could hang this on our wall and be plagued with guilt that I haven't taken any steps to broaden my crafting horizons beyond window shopping for pretty fabrics.

Then there is this one, which involves a craft that I do know:

via Amazon


But I already have a full agenda of knitting/crochet projects planned, so do I really need more projects? Ahh...no.

For sheer eye-candy, though, this is my favorite:

via Skein Queen

Gorgeous, right? Limited supply only, so act soon....

The one I was really leaning towards is this unravelling scarf calendar. Until I saw the price, that is. I think fifty-nine dollars is a bit steep for a calendar. Admittedly I would use it every day, and it is multi-functional, but still...

via Generate
Pull on a thread and the day unravels...very nice. WHY didn't I think of that?
I found this via 1 Design per Day, which has lots of cool calendars that you should really check out, including one that uses bubble wrap.

So the search goes on. Luckily I have plenty of time, seeing as how the world didn't end after all.

via Amazon

Maybe I'll just save myself some money and use the night sky as my calendar. Hey, it worked for the Mayans. The more things change, the more things stay the same, right? Sometimes they even come full circle.

Monday, December 17, 2012

Mickey and Minnie Mouse Christmas Ornament Pattern

by Kelly

Sorry for the brief hiatus - it's been a very busy week here. But I did find time to  make some cookie ornaments.


These are super easy and very durable. So durable they might even be pet proof, although pets will certainly try to eat them. I used this easy recipe from allrecipes, which is my goto online recipe book. If you'd like to make these cookies water proof for outdoor use, I'd suggest spraying or painting them with some kind of polycrylic sealer (the kind you find at the hardware store). Speaking from experience, they do tend to dissolve easily if they get wet (for example, if you happen to knock over your morning beverage on the counter where they are lying), and there's nothing sadder than a soggy cookie ornament.

And if you don't have time to make your own, they're available in our shop for a limited time.

I also crocheted some cute Mickey and Minnie Mouse ornaments for the tree.  These are very simple and take about three minutes each, so they're perfect if you need a last minute stocking stuffer.


This is a free pattern, and if you wish to make these for your own use please feel free. You can not reproduce this pattern in any part for profit, or claim it as your own.


Mickey and Minnie Mouse Christmas Ornaments


Materials:
Black worsted weight yarn
size G crochet hook

optional: 1" wide fabric ribbon (I used red with white dots) and red sewing thread.

Gauge isn't super critical for these. You can easily adjust the size by using different yarn or hooks. Mine came in at about 5" (measured across both ears).

Pattern:

Main head (make one)

1. Make a magic ring and sc 6 into the center.  Pull tight and mark your first stitch (I use a paper clip). Ch 1.

2. Work 2 sc into each stitch around to your marker and join with a slip stitch. Ch 1.

3. *Sc into first stitch, work 2 sc in next stitch. Repeat from * around to your marker and join. Ch 1.

4. *Sc in first two stitches, work 2 sc in next stitch. Repeat from * around to your marker and join. Cut yarn end and fasten off.

Ears (make two)

1. Make a magic ring and sc 6 into the center. Pull tight to join and mark your first stitch. Ch 1.

2. Work 2 sc into each stitch around to end. Join with a slip stitch, cut yarn end and fasten off.

Sew ears to head (with yarn or black sewing thread) through two or three stitches only. This will help your ornament look like Mickey or Minnie, and not a teddy bear.

Optional: Make Minnie's hair bow.

Cut about a 5" length of ribbon. Fold a flat bow with your ribbon and sew it to Minnie's head with red sewing thread. You could use black thread, but I found it showed up against the red ribbon, while red thread disappeared into the black yarn. For a great tutorial on how to fold flat ribbon bows, check out this YouTube video.

That's it, you're done! Add a hanger of some kind and add it to your Christmas tree to proudly show your love of all things Mickey and Minnie.


Only eight days 'till Christmas. But who's counting?
Related Posts Plugin for WordPress, Blogger...