Saturday, December 10, 2011

Christmas Ornaments


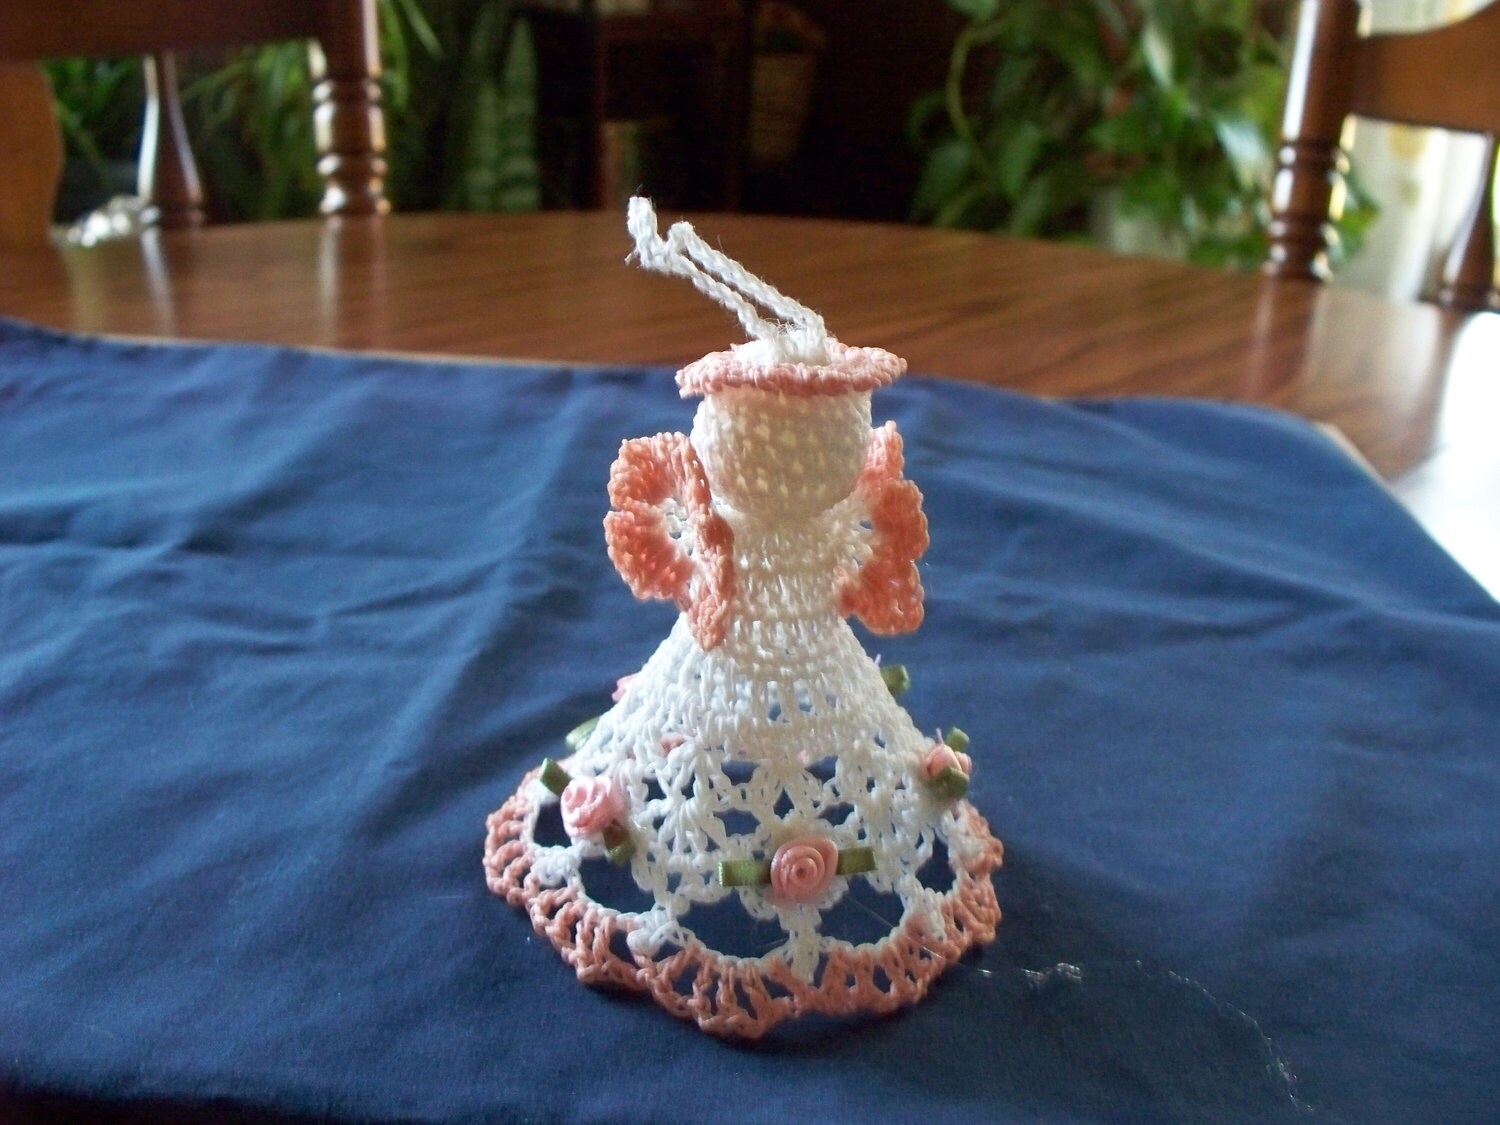
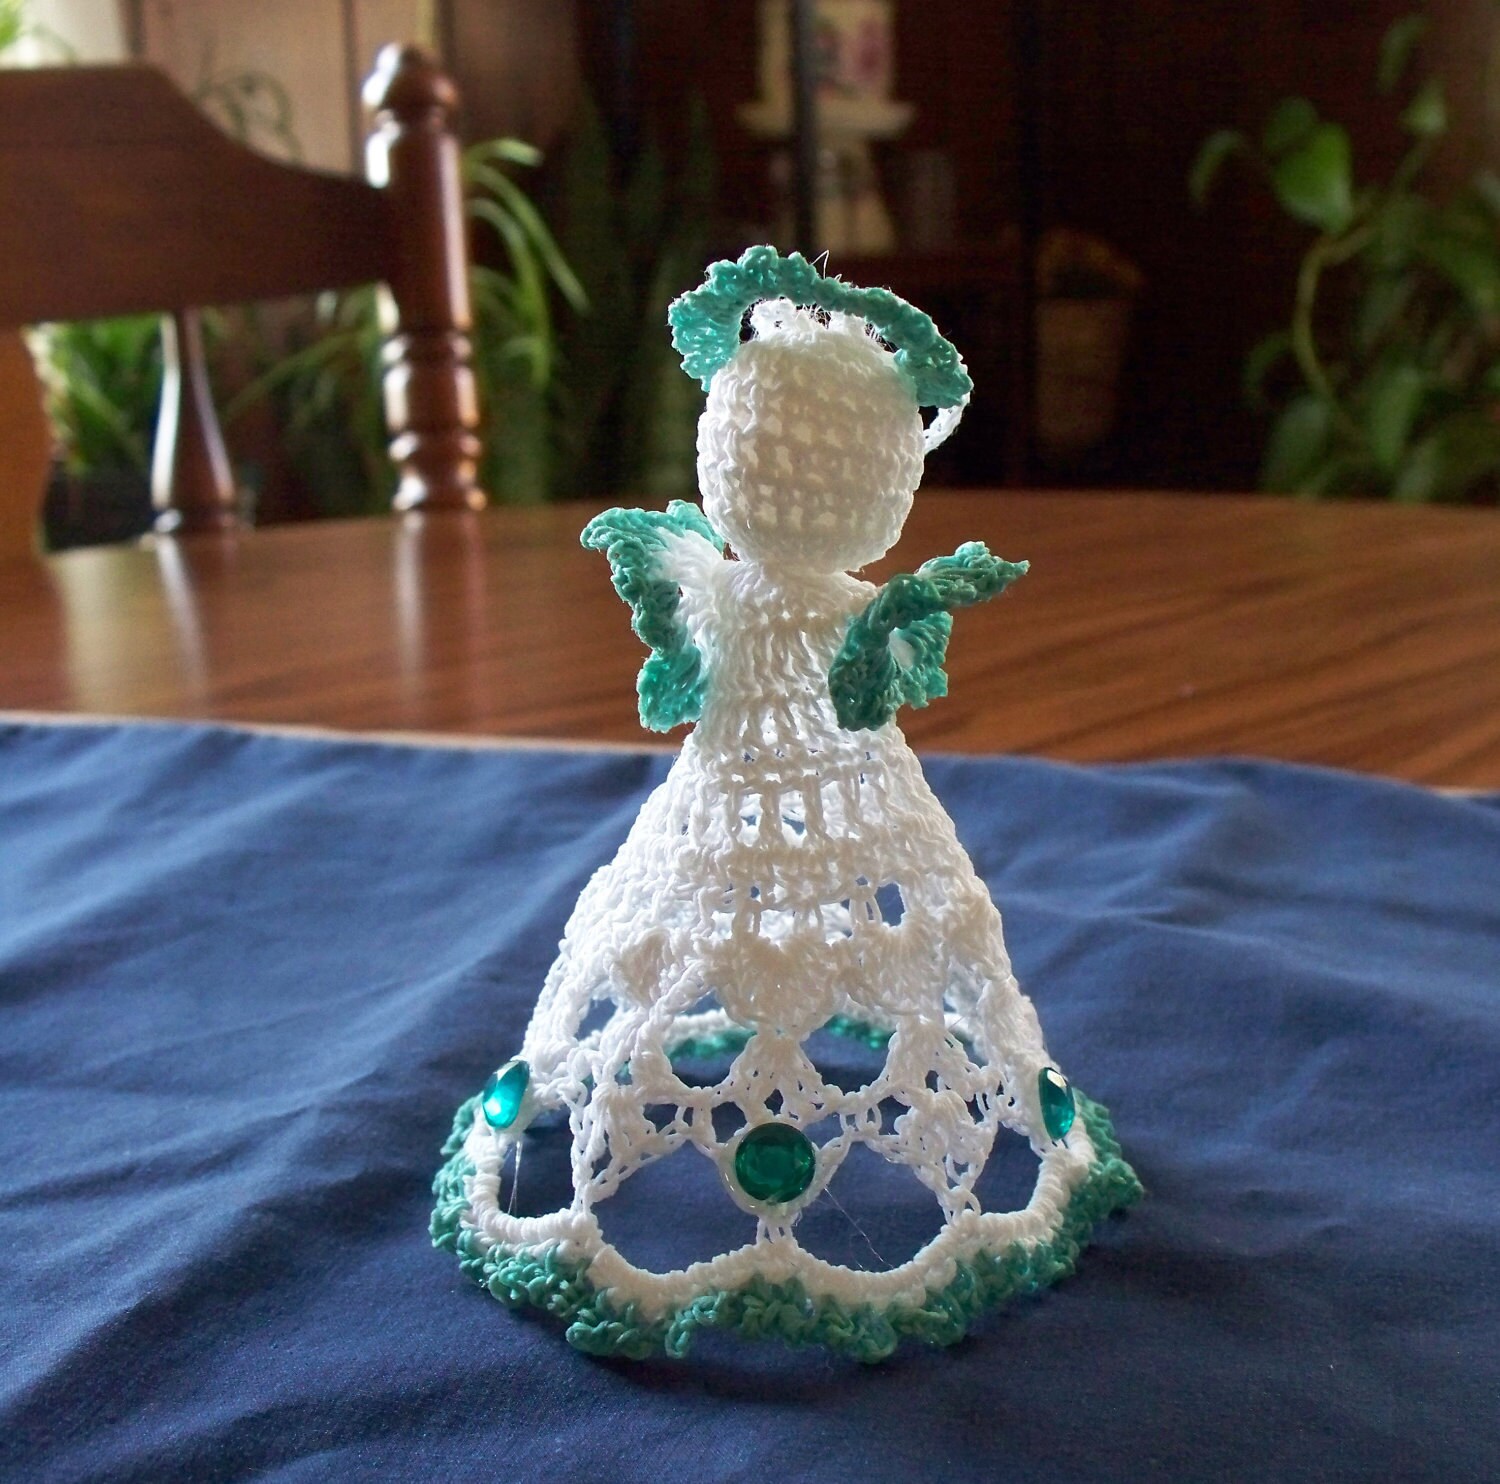
I'm sure everyone knows by now that my favorite thing to crochet is Christmas ornaments. I make ornaments in both thread and yarn. This hot air balloon is one of my favorites. I have crocheted around a satin ball, added a basket, and there is even a little Santa in the basket. Here are some others: a clothespin angel, an angel, a rose, a butterfly, a ball and a bell. I make lots of snowflakes. I also make things out of yarn such as: a snowflake, a wreath, a snowman. These are just a few of the things I crochet.


I know a lot of people find crocheting with thread a bit overwhelming but as you can see you can also make ornaments with yarn. Click here for the pattern for Sweetie Snowflake pictured above. Maybe you would like to make a stocking. Click here for the pattern for the stocking pictured below. Or maybe you would like to try a wreath.


Click here for the pattern for the wreath pictured below. Or how about these darling snowman faces in a star. Click here for the pattern.


There are loads of free patterns out there on the internet. Check them out and make a Christmas ornament.


Friday, December 9, 2011

All Mitten Tree Contributions

by Kelly


Here are the rest of our contributions to The Mitten Tree.


Isn't that butterfly scarf and hat set awesome? Those are Donna's.

Thursday, December 8, 2011

Craft Show

So my girls day care is having their first annual craft show. They're letting parents set up booths for free to show off or sell their items. I've signed up so that way I can show off some of the blankets that I've made. I'm thinking of making little cards with the stores web address and my contact info in case anyone is interested in buying/custom ordering items. I'm thinking too of printing off some of the pictures of everyone's items and letting the people know that they're available online.

I'm so excited about it!!!! Now I just need to figure out a way to make some nice business cards.

Etsy Shop Angels

by Kelly

New to our shop - gorgeous angels for the holiday season!


Christmas Angel Ornament


Visit our shop for more, plus a new selection of Christmas ornaments

Wednesday, December 7, 2011

Christmas Ornaments with Scrap Yarn

by Kelly

Scrap yarn...we all have it. Tiny balls of yarn made from scraps just a little too long to toss out, but not long enough to actually be useful, except maybe as cat toys. But no longer! (pun intended). Now you can put that scrap yarn to good use and make yourself Christmas decorations at the same time!

You can take the quick gratification route and just cram the yarn ends into a clear glass ornament :

Yarn+ornaments
Design Sprout

or take a more sophisticated approach and glue them to a tiny (or large, I suppose, if you have lots of yarn bits) styrofoam wreath,


make a yarn wreath ornament
Yarn Wreath Ornaments from Crafts 'n Coffee


or do something crazy that requires breaking out the whole basket of crafting supplies.

CraftStylish
Of course, if you really want to go over the top, there's another option...


1-tree yarn bomb


Has anyone out there seen a yarn bombed Christmas tree?


Monday, December 5, 2011

Peppermint Hat and Scarf Set

by Kelly

Here's a hat and scarf set that I made for this year.


The pattern for the hat was one I found on The Midnight Knitter, but the scarf design is my own. If you haven't been to The Midnight Knitter site yet, I really encourage you to pay a visit. Her knitting and crochet patterns are fun, contemporary, and sometimes free.

The scarf pattern is easy peasy. It's just stockinette stitch (knit one row, purl one row) for four rows, then purl one row. The final purl row makes a 'purl stripe' across the front of the fabric. There's no border because I wanted it to curl up naturally into a tube so that it looked more like a peppermint stick.

I used super bulky acrylic white yarn, some ancient variegated red, white and green yarn, and size 13 needles. I managed to get that neat 'peppermint stripe' look by purling the final row of the above pattern with both yarns held together. At the end of the 'purl stripe row', I dropped the variegated yarn and went back to knitting only with the super bulky white.

When I made the hat, however, I ran into a problem - I was knitting with different yarn and different needles, so the hat came out far too lacy (full of holes, in other words) to actually be useful as a hat. I mean, any poor kid who walked around in the winter with this hat on would just be asking for a terrible case of the flu.

So I did some online searching for a solution. Here's what I found: 

                                        Thrumming

Thrumming is basically a way to add a felt backing layer while you're knitting. This would work equally well for crochet. There's a great tutorial showing this at hello yarn. However, thrumming requires loose wool or wool roving, and I didn't have any of that.

                                    Double-Knitting

This would have been great if I had started from the beginning, but not so great to start in the middle of a project.

                                    Adding a layer

Buy fleece or some other warm material, or even a cheap off the shelf beanie, and sew it inside the knitted hat.

And then the best solution became pretty obvious. So I bought an off the shelf hat from Ebay and sewed it into my hat as a liner.

That's not cheating, is it????

All in all, though, I had some fun, learned a lot (most importantly, that a hat should not be full of holes) and sold the finished project. Not a bad outcome, really.

Friday, December 2, 2011

Fair Isle on Ribbing

by Kelly


This year I decided I'd try my hand at a very simple Fair Isle or stranded knitting pattern. I picked up the skull and crossbones  from Evelyn Skae on Ravelry, and the blue snowflake through a Google Search for Fair Isle graphs.The patterns were great for me, since they were A) Free and B)Easy


 I learned a lot about stranded knitting in the process. The most important lesson being that it's really, really easy to accidentally leave holes in your knitting while stranding two colors, so it's important to twist your threads. I saw a few extremely detailed tutorials on exactly when and in which direction to twist yarn that were way over my head. The most useful info I found on this was at The Complete Idiot's Guide.  It's a great tutorial for beginners.

Holes on the right side
 

Also, it doesn't seem to be possible to do stranded work on any kind of ribbing, since ribbing moves the yarn from back to front constantly, and you really can't do that with Fair Isle. Any kind of stranded knitting has to have a 'dedicated back' where you can hide all the less than pretty color changes.

So, how did I make two ribbed scarves with a Fair Isle pattern? I cheated. I did the ribbing (for these scarves I used K1, P1) until I reached a good place for the pattern, then switched to stockinette (Knit one row, Purl one row) to do the Fair Isle pattern, then switched back to ribbing.

It really worked out pretty well. The stockinette part isn't that noticeable except to other knitters, especially on the black scarf. I did try to do a design using only stockinette with a seed stitch border, but in the end it didn't look very scarf-like, so I frogged it and tried this method instead. Success!

                              Some tips on doing this

 
1. Leave a border of ribbing on either side of your stockinette section. This will make it a lot easier to pick up the ribbing when you're done with the stranded work, and the edges of the scarf won't have an obvious border change that will make the stranded part really stand out.

2. Also, the stranded work will be wider than the ribbed part of the scarf. See how the scarf flares out where the skull and crossbones section is?


The next time I do this, I'm going to switch to a smaller needle when doing the stranded section. Hopefully that will prevent that flared look.

3 .Knit the graph from bottom to top on the first end of the scarf and from top to bottom on the other end. Otherwise, the scarf will have one upside down image when the wearer puts in on.

4.The back isn't going to make you happy.


On a sweater or hat, the stranded back is hidden, but not on a scarf. One way to fix this would be to make your scarf extra wide so you can seam the sides together, or you can knit a tube scarf in the round. Or you can just live with it. Hopefully the strands on the back won't catch on too many things (keys, bicycle handlebars, etc), especially if you do the floats correctly.


5.  Make sure you tension things properly. If you pull the yarn too tight when you're knitting with two colors, the image will end up puckered. If you leave things too loose, the floats on the back will cause a lot more problems. This part takes a little practice, but keep trying and you'll catch on.

And the last and most important thing to remember is that if you want to make your own design, use knitting graph paper. Knitting stitches are wider than they are tall, so knitting from a design made with regular graph paper will produce an image that looks horizontally squished, as though it had been stepped on. Simple images, like a Christmas tree, will still be recognizable, but anything complex might end up as a hopeless mess. Trust me on this one.

Knitting graph paper is available in many places online. Incompotech is one source, if you want to make your own to suit your gauge, or if you're like me and can't figure out gauge correctly, you can get this kind, which will help you make a simple pattern.

These scarves and hats are for The Mitten Tree, a local charity that distributes donated items to children at local schools. Hopefully the kids will look past or ignore the flaws that I can see, and enjoy them anyway. And next year, maybe I'll give gloves and mittens another try.


Related Posts Plugin for WordPress, Blogger...