
When I started making cross-stitch bookmarks, I faced a dilemma. As a book lover, I didn't want a bookmark that was too thick, because then it might damage the spine of the book. On the other hand, the stitched bookmark really needed some kind of backing, to cover up the less than pretty back.
After trying quite a few methods, I finally found one that works - adding a ribbon back with double stick fusible webbing. It's super fast and easy and all you need is the bookmark, the webbing, some ribbon, and an iron.
First, set your iron to the heat setting recommended on the webbing package. While that's warming up, cut your bookmark, your ribbon, and a piece of the webbing to an identical size.

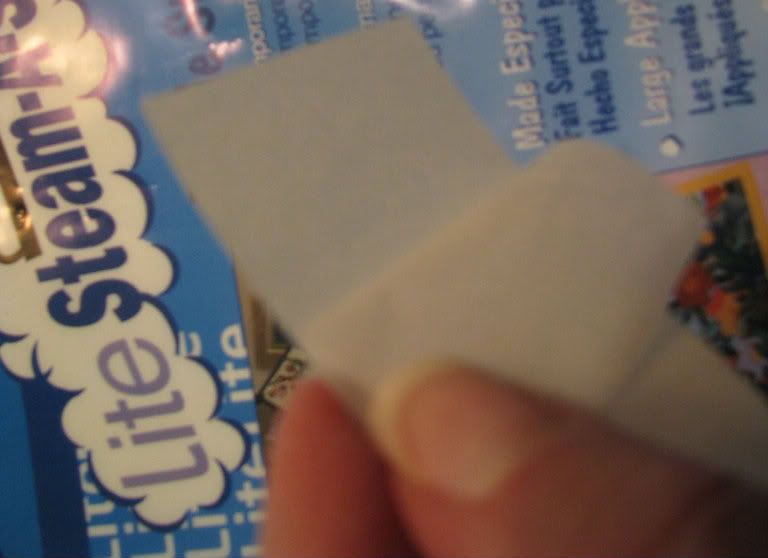
Next, peel off one layer of backing from the webbing. This will expose a layer of sticky stuff.
Place the backing, sticky side down, onto your bookmark and iron lightly. I usually just set the hot iron on the bookmark for a count of four, then lift it off. By the way, if you don't happen to have an ironing board, two layers of bath towels on the kitchen counter works just fine. (At least, for solid surface counter tops.)

Peel the next layer off of the backing. Look, another layer of sticky stuff.

You'll notice that I have two 'seam allowance' side flaps on the bookmark above. This probably isn't necessary - I just like to be sure that the side edges are as sturdy as possible, since they seem to wear out first.
Place the ribbon on the bookmark, making sure the edges are lined up the way you want them, because after the next step, there's no going back.

Now iron again - you'll need to iron a little longer this time, to make sure all those layers are fully adhered.

That's it! You're done.

Looks like I'm going to have to trim that ribbon a little. But that's okay - I don't have to worry about fraying edges, because the webbing acts like glue and holds loose threads together.
Ta-da! All done. Less trouble then sewing, and not as thick or messy as gluing on a piece of felt. And there are miles and miles of pretty ribbon at the craft store, so they're sure to have one that matches your stitching.

Oh, and if you are mistake prone like me, here are a few helpful tips to get you out of the mess...
How to remove fusible webbing
If you make a mistake with your first experiments with fusible webbing, don't freak out. Soak your project in lukewarm water for a few minutes, then use your fingernail or a soft toothbrush to gently scrub away the fusible webbing. Please be aware that I have never tried this with old projects, only new ones, or projects a few days old. I found this out by accident when I tried to clean a completed bookmark.
If you get sticky stuff on your teflon coated iron, let the iron cool and use vinegar and a soft toothbrush to clean it. I got that tip here. Vinegar is cheap and does so many things...I hope nobody gets a patent on the stuff, or we'll be paying an arm and a leg for it.
I've added some bookmarks to the shop. Give them a look here, if you have a second.


